Controls
The signal runs left to right across the panel. Input drives the preamp, Lo cut and Hi cut filter what comes out of it, Mix blends that with the dry signal, and Output sets the final level. The screen in the middle is the Analyser, which also works as a touch pad for the two cuts.
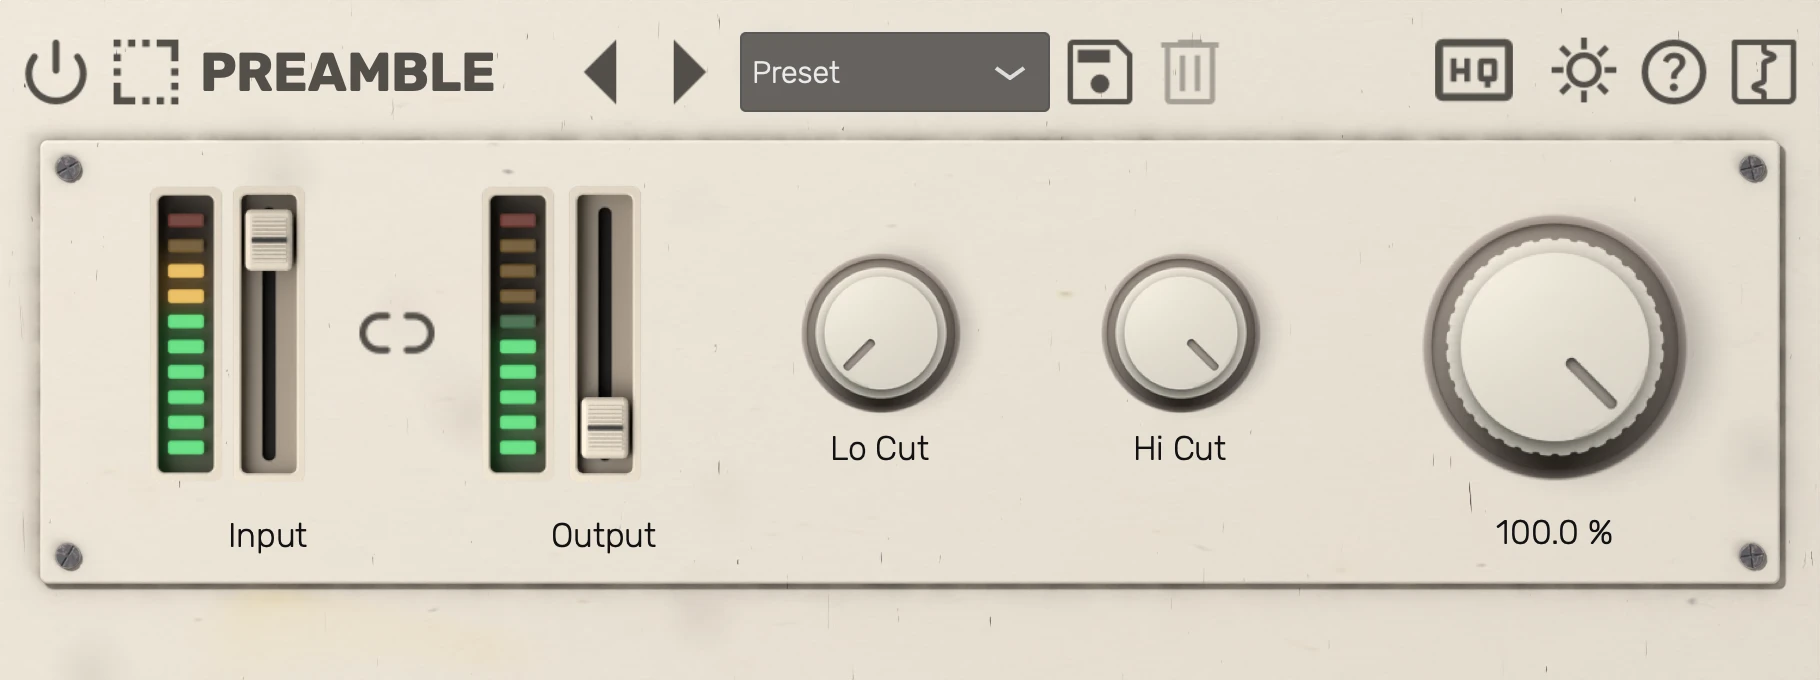
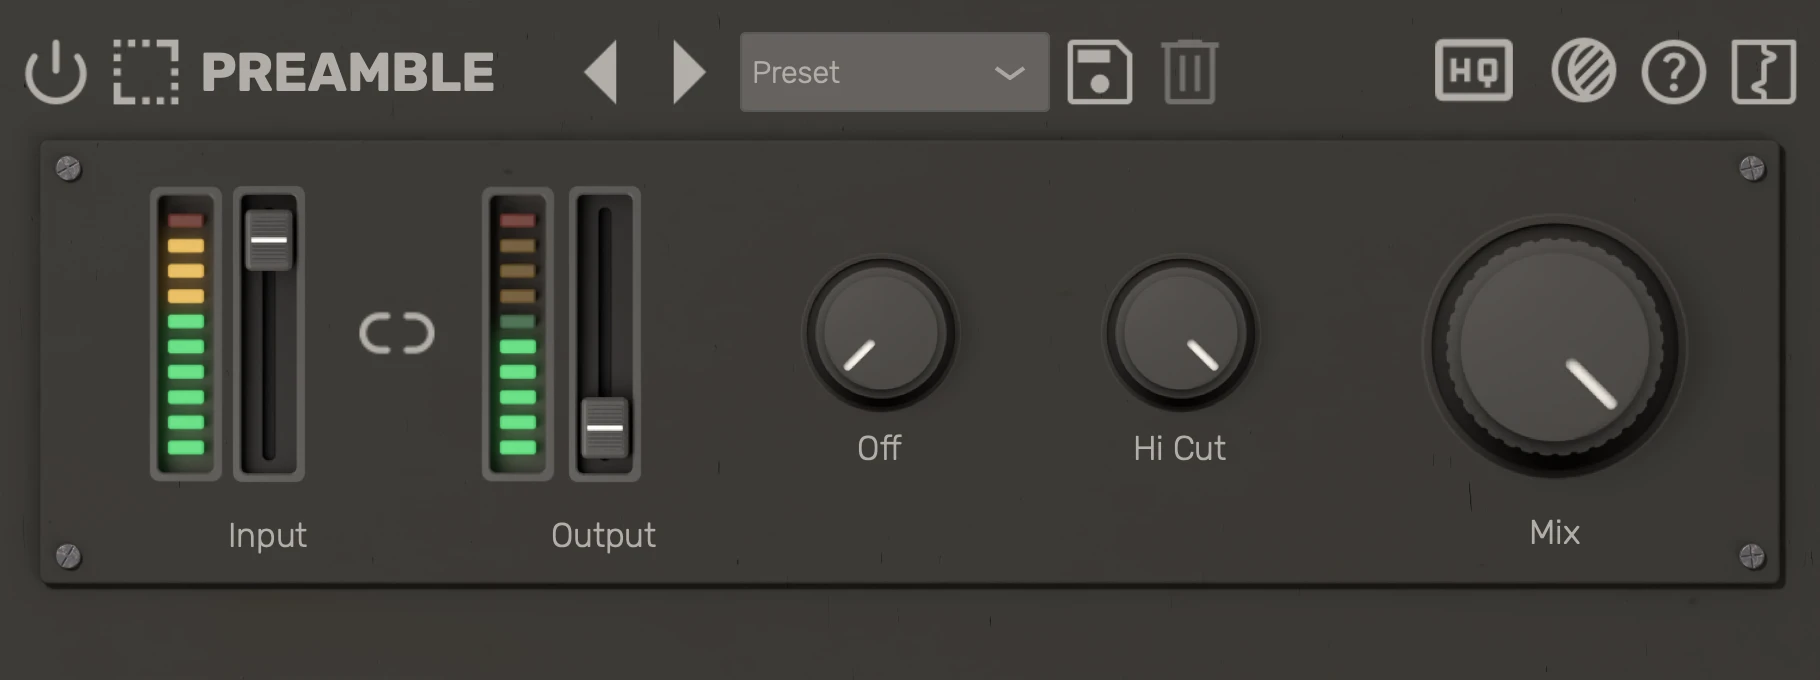
| # | Control | Description |
|---|---|---|
| 1 | Input level | How hard the preamp is driven. The dry side of Mix stays at the incoming level. |
| 2 | Auto gain | Keeps the preamp level matched to the dry input as Input drives it harder. |
| 3 | Lo cut | Cuts lows from the wet path, up to 5 kHz. Fully left is Off. |
| 4 | Analyser | White is the dry path, red the wet. Drag sideways to move both cuts, up to narrow, down to widen. |
| 5 | Hi cut | Cuts highs from the wet path, down to 200 Hz. Fully right is Off. |
| 6 | Mix | Blend between the dry input and the wet path. |
| 7 | Output level | Final level after Mix, ahead of a soft safety clip. |
Tips
- Turn up Input to drive the preamp harder. With Auto gain on the wet level stays matched to the dry input, so Mix compares tone rather than volume and Output is a plain master trim. Auto gain adapts to new material over the first fraction of a second.
- With Auto gain off you hear the hardware's own output level, which rises and compresses as you push Input.
- Note that when pushed hard, the preamp can create discordant overtones with certain chords. This is exactly how the real analog circuit performs.
- Lo cut and Hi cut apply to the wet path only; dry stays unfiltered. They come after the preamp, so they shape the distortion rather than what drives it.
- The LED meters show peak level. The input meter reads after Input, so it shows how hard the preamp is driven; the output meter reads after Output.
- A soft safety clip with a -1 dBFS knee sits after Output.